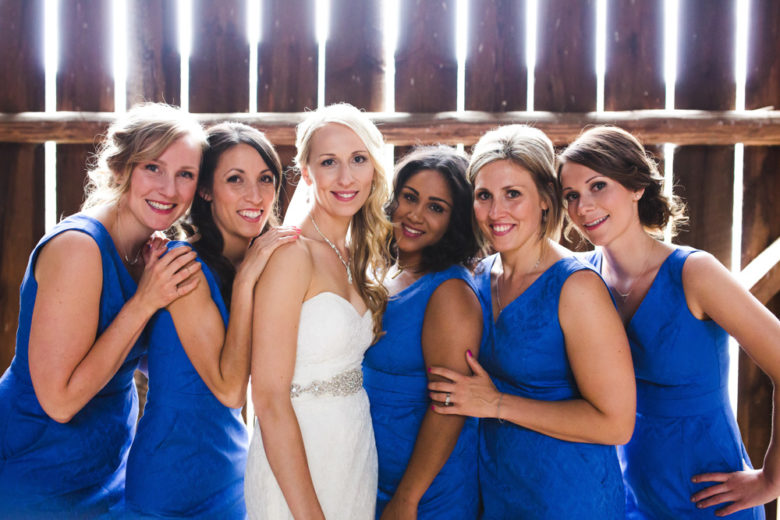
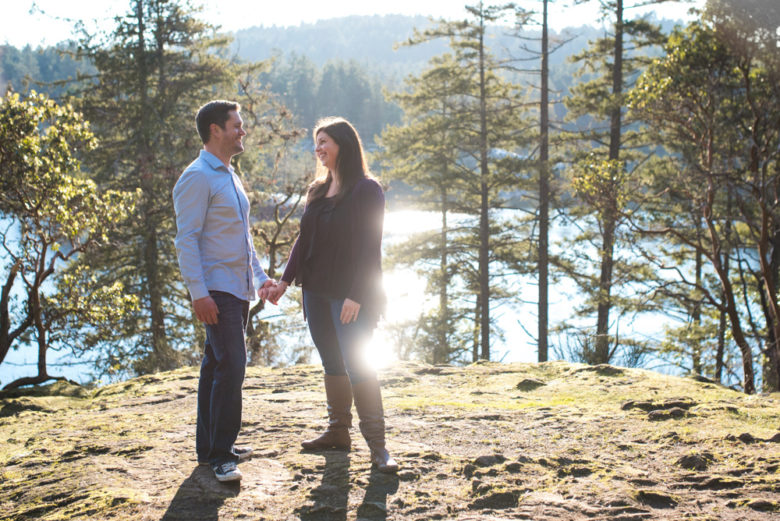
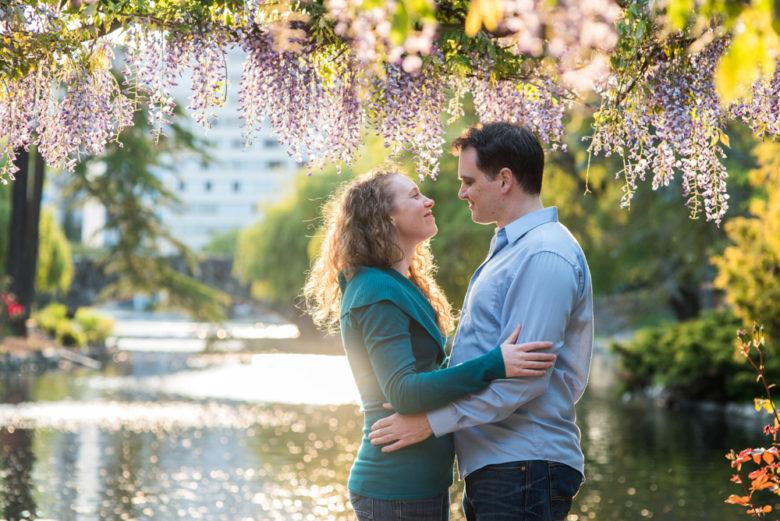
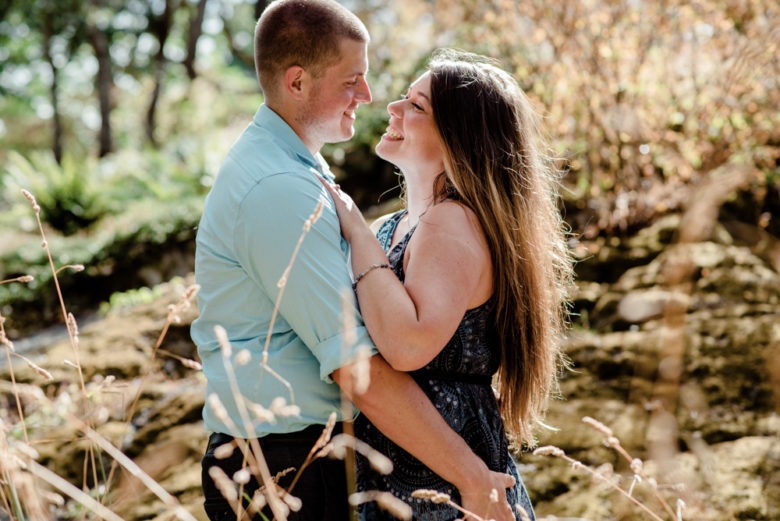
Rim light uses one of my favourite types of light: backlight. When you backlight something (i.e. put the light behind them), that thing ends up in the shade of itself, but with some light wrapping around and bouncing off surfaces in front of it. If you just have a bright sky or some other bright background behind your subject, you won’t see the bright light wrapping around its edges. But if you put something dark behind them, you’ll see a line of light around their edges. That’s rim light.
There isn’t too much to it. Just find a darker background and some light behind your subjects (or create either or both of those things). If you need some advice on getting a proper exposure, you can check out this post from when we did backlight.
Rim light often creates a pretty, glowy, kind of magical feeling. It also helps to separate your subject from the background. Think about using it in romantic or whimsical scenes or where your subject and background are similar in colour and brightness.


If you have any questions, join us in the Facebook group. I’ll be checking in there daily to see your work and help you achieve the best results.
If you’re just finding this now, you can check out the full list and more information on the challenge here. You can follow me on Instagram at @documentyourdaytoday and use the hashtag #dtd52weeks so others doing the challenge can see your work.
