This week’s theme is slow shutter speed, which I’m realizing is a technique I don’t use very often, so I had to pull some older personal photos for this post and even one on film. The main purpose of this challenge is to show motion using a slow shutter speed. I’ll get into the technical ways to do this near the bottom of this post.
A slow shutter speed means using a lower number, like half a second or a second instead of a higher number like 1/500 of a second. When your shutter speed is slow, that means it’s open for longer. While the shutter is open, your camera is capturing the image. So, for example, if someone runs by, you’ll capture their path from when the shutter opens until it closes. If the speed is pretty slow, they’ll show up as a blur. If it’s fast, their motion will appear frozen.
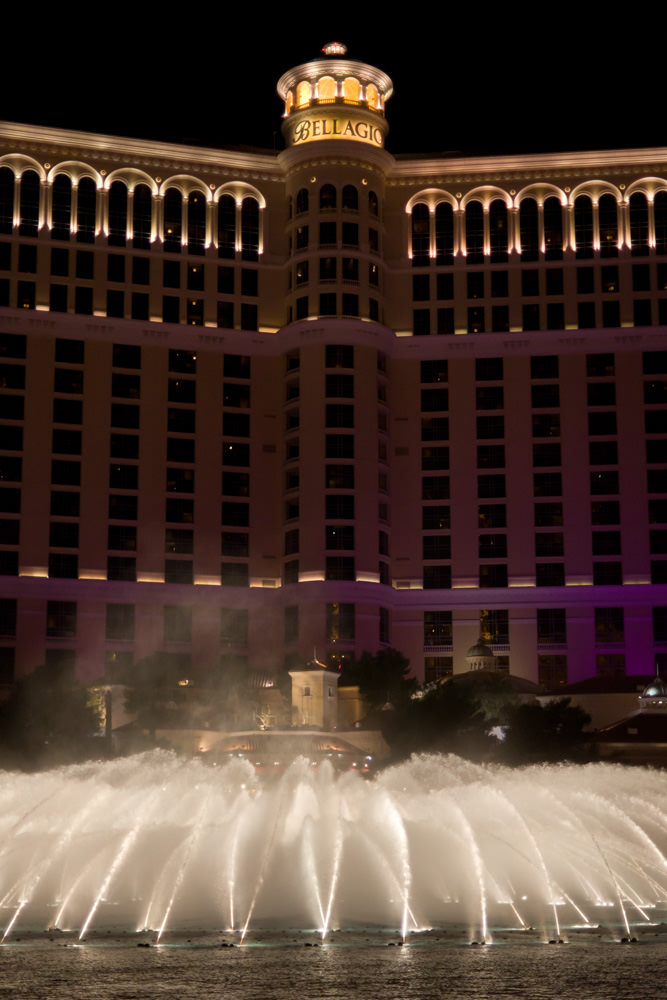
Below are a couple of examples showing different shutter speeds in the same situation. The left image has a speed of half a second, which isn’t super slow, but was slow enough to blur the dancing fountain’s water. The right image is at 1/500 second, which is fast enough to capture fast human motion, but still somewhat blurs the water.

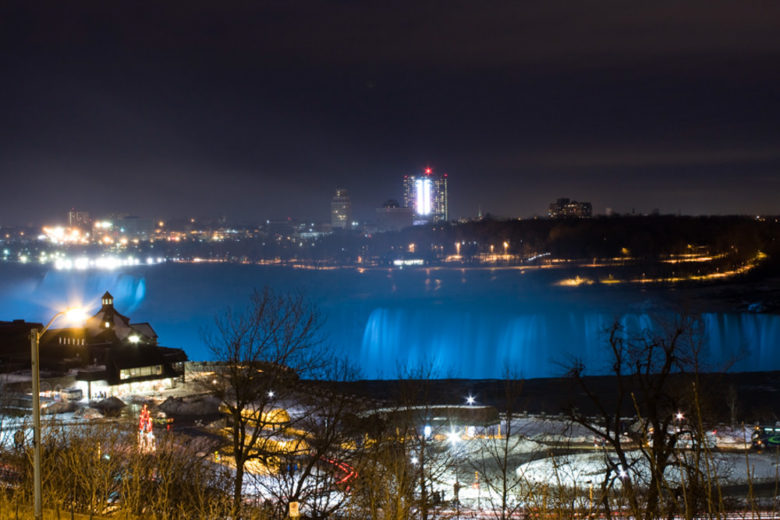
Here’s another example of the classic waterfall shot. I used a tripod and a shutter speed of 20 seconds. Notice the cars going by in the foreground just show the blur of their taillights (which is another classic slow shutter speed exercise).
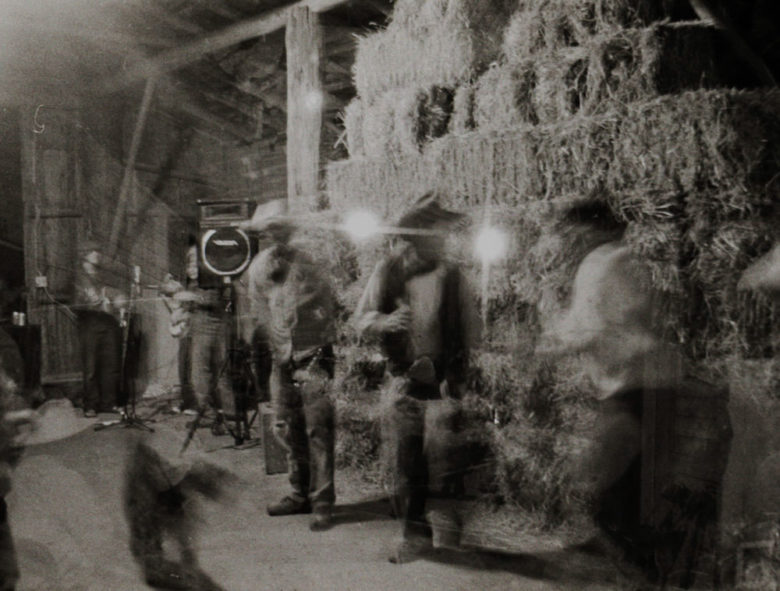
The below image was taken on film, so I’m not sure what the shutter speed was, but it looks pretty slow since everyone appears kind of ghostly and faded. If someone moves during a slow shutter speed photo, they can appear as a blur or ghosted. This ghosting happens with slow shutter speed photos using flash too, but the subject that’s lit by the flash will appear frozen while a ghost image of them appears blurry nearby.
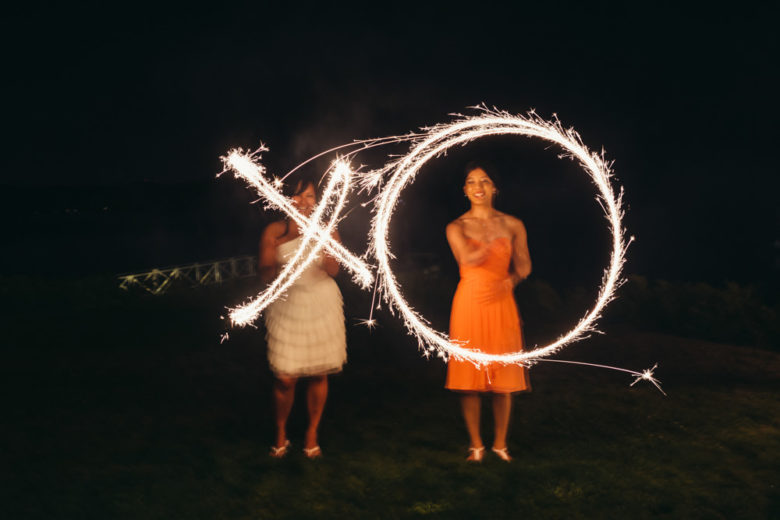
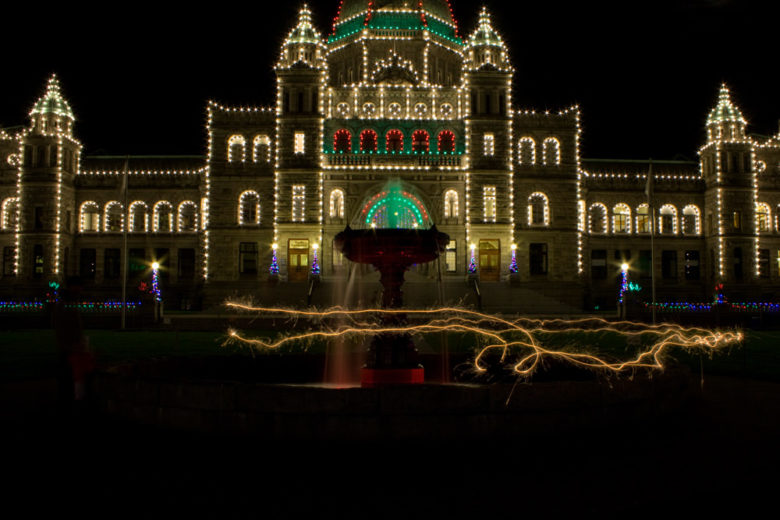
Below are two examples of light painting. Light painting is when you use something brightly lit, like sparklers in both these examples, and use it to “paint” in your image. Since the sparklers are so bright, they get captured on the camera’s sensor faster than the rest of the scene. So while the girls look blurry in the left image, the sparklers look pretty sharp. The left image uses a shutter speed of 0.6 seconds and the right is 8 seconds (with a tripod).
Here are a couple of ideas of how to get a slow shutter speed if your camera doesn’t have manual exposure or you don’t know how to use it (check out my Camera Basics online course if you’re ready to learn):
- If you don’t know how to use manual on your advanced camera, you can use shutter-priority instead. It’s usually denoted by S or Tv on your exposure dial. Shutter priority lets you set your shutter speed and the camera will choose the aperture to get a proper exposure. Choose a shutter speed of 1/15 or below. You can also set your ISO to auto in your settings or just choose an ISO yourself if you know how. If the image is over or under exposed, use exposure compensation to make it brighter or darker. This is usually done by pressing the +/- button and turning your main dial (also used for shutter speed without the button pressed).
- If you’re using a phone or point-and-shoot, try taking photos in a dark situation. These cameras will usually compensate for the lack of light by lowering your shutter speed.
If you have any questions, join us in the Facebook group. I’ll be checking in there daily to see your work and help you achieve the best results.
If you’re just finding this now, you can check out the full list and more information on the challenge here. You can follow me on Instagram at @documentyourdaytoday and use the hashtag #dtd52weeks so others doing the challenge can see your work.
